Looking for a guide for drawing Microscope for beginners? If you’re someone who’s interested in science and loves to sketch or draw, you may want to learn how to draw a microscope.
Microscopes are fascinating instruments that help us see things that are too small for the naked eye to perceive. Drawing a microscope can be challenging, but with some practice and patience, you can create a detailed and accurate drawing that captures the complexity and beauty of this scientific tool. In this article, we’ll go over step-by-step instructions on how to draw a microscope.
How to Draw Doraemon Easily for Kids
How to Draw a Microscope for Beginners in 15 Steps
So, as i have already mentioned about this guide. In this guide, I have divided the whole process of drawing Microscope in 15 steps. By Following these steps, you can easily learn to draw a Microscope easily.
So, here are the materials you need for microscope drawing for Beginners-
Materials Needed to Draw a Microscope
- Pencil
- Eraser
- Paper
- Ruler
- Compass
- Protractor
- How to Draw India Map for Beginners
Step 1: Sketch the Basic Shape of the Microscope
To begin, lightly sketch the basic shape of the microscope. Use a ruler to draw a straight vertical line down the center of the paper. At the top of this line, draw a small rectangle for the eyepiece. Below the eyepiece, a larger rectangle for the body of the microscope. Use a curved line to connect the eyepiece to the body, creating the arm of the microscope. Finally, draw a rectangular base for the microscope to stand on.
Step 2: Add Detail to the Eyepiece
The eyepiece of the microscope is where you look into the instrument to see the specimen. Use a compass to draw a circle in the center of the eyepiece rectangle. Inside this circle, draw another smaller circle. Add details to the outer circle, such as an adjustment ring or a grip texture. Use curved lines to connect the eyepiece to the body of the microscope.
Step 3: Draw the Objective Lens to draw a microscope
The objective lens is the part of the microscope that is closest to the specimen and magnifies it. Use a protractor to draw a circle to represent the objective lens. Draw a smaller circle inside the lens circle to represent the lens glass. Add details to the objective lens, such as an adjustment ring or a grip texture.
Step 4: Add the Fine Focus Knob
The fine focus knob is used to adjust the focus of the microscope. Draw a small circle on the body of the microscope to represent the knob. Add texture and detail to the knob, such as ridges or a rubber grip.
Step 5: Sketch the Coarse Focus Knob
The coarse focus knob is used to move the objective lens up and down to bring the specimen into focus. Draw a larger circle on the body of the microscope to represent the knob. Add texture and detail to the knob, such as ridges or a rubber grip.
Step 6: Add the Stage to draw a microscope
The stage is the flat platform on which the specimen is placed for viewing. Draw a rectangular shape on the base of the microscope to represent the stage. Add details to the stage, such as clips or a movable platform.
Step 7: Draw the Arm
The arm of the microscope connects the eyepiece to the body of the instrument. Use a curved line to draw the arm of the microscope, adding detail such as a grip texture or screws.
Step 8: Sketch the Base
The base of the microscope is the foundation on which the instrument rests. Draw a rectangular shape for the base and add details such as rubber feet or a textured surface.
Step 9: Add the Light Source
Microscopes require a light source to illuminate the specimen. Draw a circle or square on the base of the scope to represent the light source. Add details such as a switch or a knob for adjusting the brightness.
How to Draw Akbar and Birbal Easily
Step 10: Add Shadows and Shading
Once you’ve drawn the basic structure of the microscope, it’s time to add depth and dimension by shading and adding shadows. Use your pencil to add shading to the various parts of the microscope, such as the eyepiece, the body, the objective lens, and the stage. Use hatching or cross-hatching techniques to create texture and shading.
Step 11: Refine Your Drawing
Take a step back and look at your drawing. Are there any areas that need improvement or adjustment? Use your eraser to make corrections as needed. Refine the details of the microscope until you are satisfied with the final product.
Step 12: Add Labels
If you want to use your drawing for educational purposes or as a reference, consider adding labels to the various parts of the microscope. Use a small font to write the names of each part, such as the eyepiece, objective lens, and fine focus knob.
Step 13: Experiment with Different Perspectives
Once you have mastered drawing a microscope from a frontal perspective, try experimenting with different angles and perspectives. Draw the microscope from a side view, a top-down view, or a tilted angle. This will help you develop your drawing skills and improve your overall understanding of the instrument.
Step 14: Practice Regularly
Drawing a microscope takes practice and patience. Make it a habit to practice drawing the microscope regularly, even if it’s just for a few minutes each day. This will help you improve your skills and build confidence in your ability to draw complex objects.
Step 15: Use Reference Images to draw a microscope
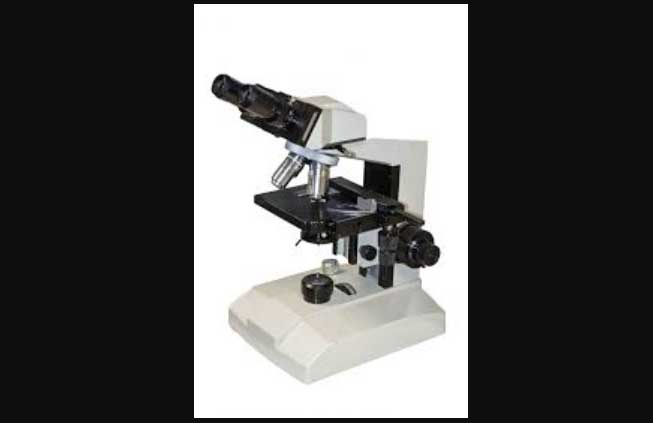
If you’re having trouble visualizing the different parts of the microscope, use reference images to guide your drawing. Look at photographs or diagrams of microscopes to get a better understanding of their structure and details.
10 Reference Images to draw a Microscope for Beginners
In this section, we are going to share some reference images for how to draw a microscope for beginners. You can watch these images carefully and try to draw microscope easily.
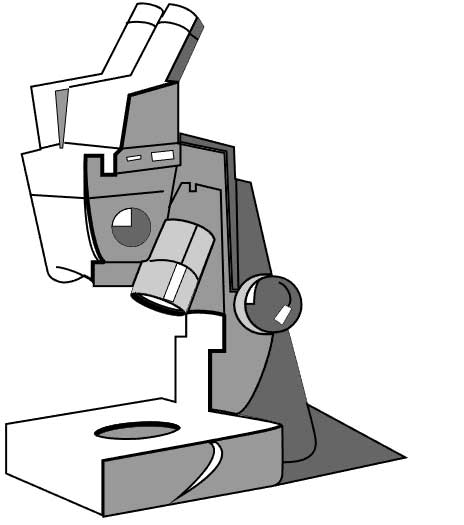
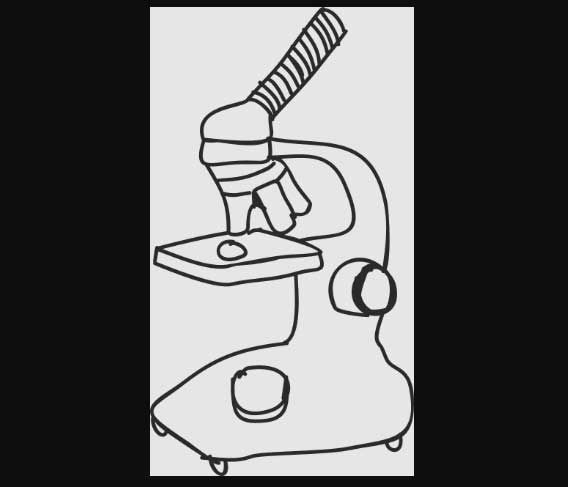
The best easy to draw microscope portrait for beginners.

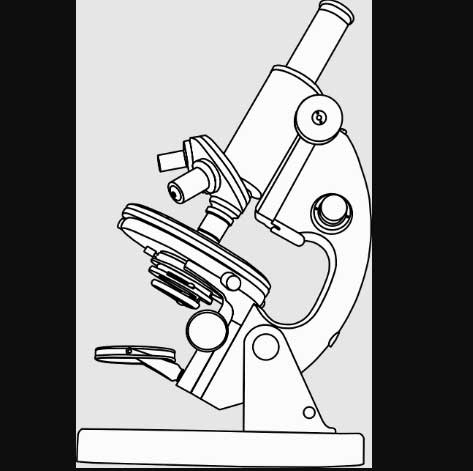
Advanced level of drawing a microscope.
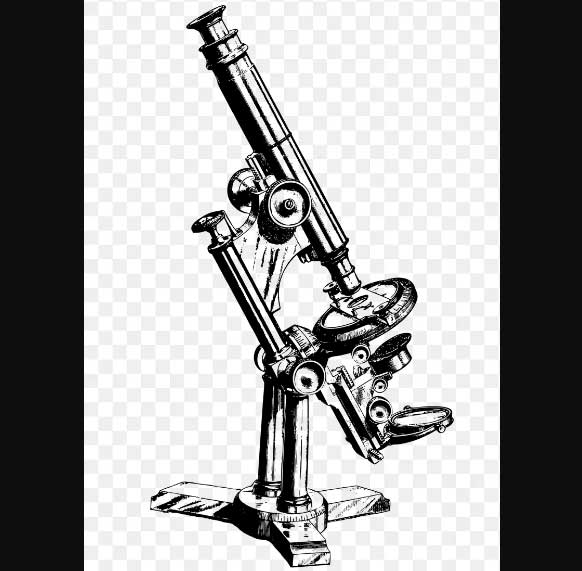
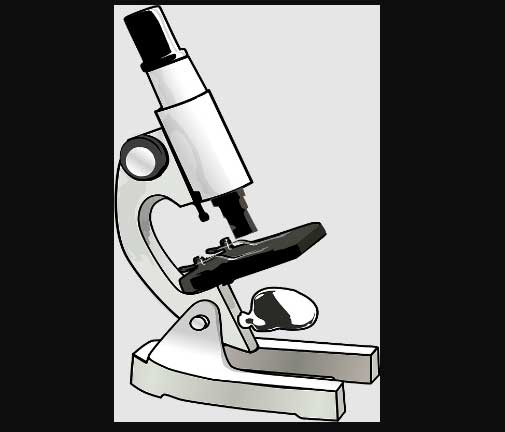
Easily draw this microscope with ruler and pencil.
You will need some time and practice to draw this microscope.
You can try to draw this microscope for science project or presentation at the school.
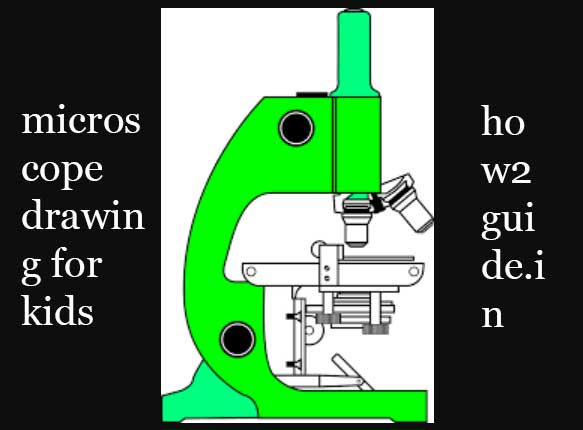
How to draw microscope for kids.
This microscope drawing will require some advance level skill.
Do some practice and then draw this microscope easily.
Check this microscope drawing for kids.
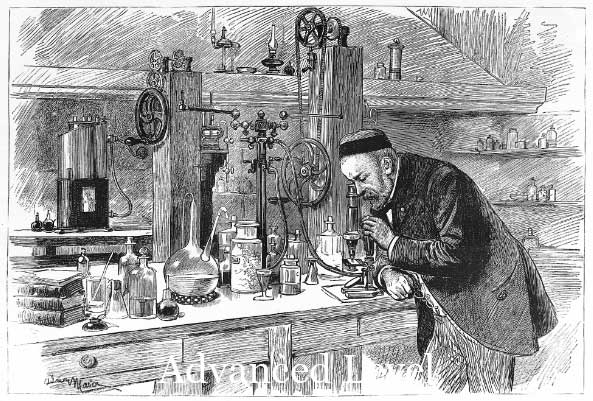
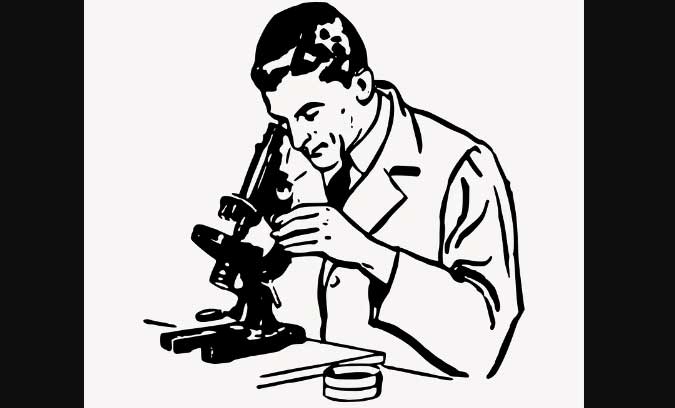
This Advance level microscope drawing with a scientist watching.
We Hope you liked this post and learned how to draw Microscope easily with this beginner’s guide for drawing microscope step by step and Visit How2guide for more.